


I like knit top patterns that are more than a basic tee, such as Jalie 2806, HotPatterns Sunshine Top, my beloved Ottobre tees, etc., and which have a bit of design "fullness" in front to cover my own "fullness." Enter the Blank Slate Rose. I bought/downloaded this pattern about 8 months ago and it's been in my queue for a while. Finally, its turn came.

The pattern calls for a woven fabric to be used where you see a print in the pattern photo, and the designer and most others I've seen who've made it (#bsprosetshirt) have used solids for the rest. If you know anything about me, you know I'm a prints and knits girl. Give me All the Print Knits!

I had some Liverpool scraps left from my Slouchy Cardi which I used to "opposite" color block. I did interface, (with a non-stretch fusible) the pieces which called for woven to be used, mostly because the b/w print is a *very* drapey, silky knit and it definitely needed some stability when used around the neckline. There are front and back facings on the inside which I also interfaced, but with a knit fusible on those, for a bit more "oomph." I did not interface the solid black pieces at all.

I'm very happy with how the neckline turned out, even though I generally hate facings in knits. The shape, width, and depth are perfect for me. Next time, I will definitely just bind the back neckline or turn and coverstitch, but a facing on the front in this design is actually needed for stability, and to cover all the piecing so the insides are pretty too.

The pattern went together well but it's not for an abundance of accurate markings. Look at the notches above ... they aren't even close to being correct. Sigh. I suppose it's a good thing these notches weren't even mentioned in the instructions, right? :-) Speaking of which, the instructions are illustrated with mostly photos, which is OK, but the instructions for attaching the facings are just plain a bad method and will give you a lump at the shoulder seams if you follow them. My advice is to sew the facing shoulder seams together/press and the bodice shoulder seams together/press, and then join the facing to bodice at the neckline, RS together, stitch, and turn. In other words, the usual way. :-)
As usual, I laid my TNT Ottobre tee over the pattern pieces and compared. Below is the back. Can you see how straight up/down this original pattern is below my TNT? I'm not that shape, so I reshaped the armholes and waist/hip curves. I did the same for the front, which was also straight up/down.

Below is the pattern sleeve behind my Ottobre sleeve. Yikes. Good thing I was already planning to use my Ottobre sleeve.

I've been wanting to add a flounce to a short-sleeve knit top for a while and finally I did. Watch out, because I love it and I'm going to add flounces to all of my short sleeves. Maybe kidding.

Seriously, how fun is this?

I dug out my 1/4" downturn feller for my coverstitch machine …

… ran the flounces through it before they were attached to anything …

… and Voila! Perfect hems on a curve. Now I'm really adding flounces everywhere. :-)

I'm very happy with my top and will definitely make it again because there are a lot of color/print blocking possibilities with the neckline, and all of those pieces were accurate and sewed together well. But if I'm being honest, I don't think this top would have fit me as I prefer below the neckline without sewing a muslin and tweaking if I hadn't substituted my TNT shaping. I'm just curvier than it is (was).
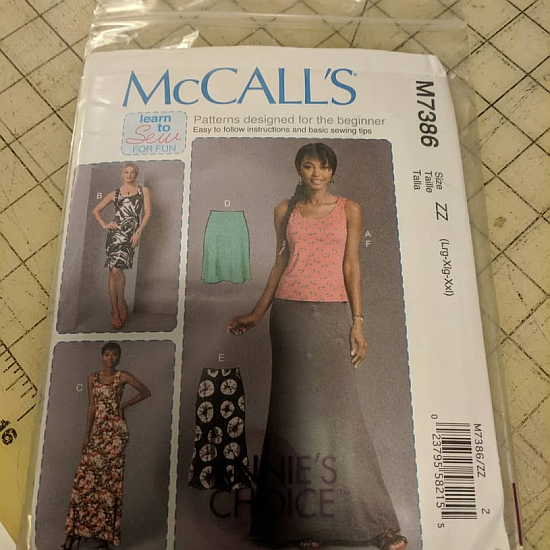
After finishing the top, I had some scraps of the print left. Too big to toss, but maybe too small to be anything. Well, with some creative cutting and thanking my stars that the fabric is 4-way stretch, I was able to eek out a McCall's 7386 skirt. I love this skirt. I must have at least 8 of them in my closet now. I love the slightly flippy, slightly pencil, slightly A-line shape all in one skirt. It's perfect for the office. I'm sure I'll keep making it for years.
The finished 2-piece dress on Zillie …

… and on me with those awesome work bathroom selfies.


Oh, and remember I said I had to creatively cut the skirt pieces? Well, I also had to piece a section, which turned out to be the CB hem area, which hardly shows now. I'll never point it out off this blog.


