Tuesday, August 29, 2006

About the shelving

A few readers have commented here and privately about the shelving, wondering what it is and where to get it, so I thought I'd answer here in case others were also curious.

It's track shelving from Home Depot, brand name Closet Maid, and this stuff is GREAT! Very, very easy to install. Much easier than the wire shelving that fits into brackets which must be leveled and installed separately, like this. With the track shelving, the only part which has to be installed level is the main/header track across the top. You can sort of see the header track in this old pic of my previous sewing closet (and the Home Depot pic linked below).


Next, you slide on the vertical rails shown below and secure them with screws or toggle bolts into the wall (depends on your wall).


Next, the brackets which hold up the shelves snap into place in slots on the vertical rails. These are completely reconfigurable if your needs change since they snap in/out easily and when/wherever you want.


The last step is to snap the wire shelving into the brackets. Again, the shelves are removable and reconfigurable, no tools necessary.

We reused shelving from the previous house so some of these are doubled-up which you can see at the left side.


Otherwise, the shelving is sold by the foot and a Home Depot person will custom cut it to the length you specify.

Here is a pic from the Home Depot website which shows one configuration. There are also lots of options you can add-on besides just shelves -- hanger poles, drawers, shoe racks, and more.

Monday, August 28, 2006

I mean it's REALLY gotta stop!


Here it is. The new stash closet. And in this pic you can't even see everything.

Like the fleeces and sweater knits across the top ...


Or the stacks at each side ...


Or DH's expression as he stood before it. (No photo on THAT!)

Nearly everything is in there, save for maybe a few pieces in the laundry room or buried under the mess on my cutting table (mess created during stash organization).

So here's a rundown of what's what in there.

Top shelf: Fleeces, sweater knits, weird stuff like faux fur, vinyls, double-sided prequilted cottons (from my Vera Bradley phase)

Next shelf down: Flannels, seersuckers & woven stripes, blouse weight woven prints, drapey silks/rayons/polys, dressier wovens, and knits that wouldn't fit below

Next down: Rib & lycra knits (mostly cotton, mostly for sleepwear), buttermilks and other similar knit prints, solid denims/twills, denim/twill prints

Next down: Solid knits in half the colors of the rainbow

Bottom shelf: The knits from the other half of the rainbow

Floor bins L-R: (1) Crafty scraps, felts, etc., (2) ugly stuff for muslins, (3) knits that wouldn't fit on the shelves (oops), (4) quilting cottons (most less than a yard) and ribbing, and (5) outgrown jeans that I steal from and larger denim scraps (for patching or playing).

No, I don't know how many yards or dollars this represents. Ignorance, in this case, is bliss.

It's gotta stop!

You saw that empty SPACIOUS closet in the previous post, right? Well, it's empty no more. In fact, I'm still unpacking fabric and the closet is getting precariously FULL. Uh oh.

I think I have as many buttermilks as Linda herself at emmaonesock. Those prints sucker me in every time. I also found Powerdry a'plenty. Denims and bottomweight twills? Not as many but still plenty. Silks, some. Jerseys in all shades of the rainbow? Yup. Shirt cottons? Of course.

In fact, the only thing I'm proud of is that I have far less fleece than Joann's. Yes, I have some, but there's only 2 cuts that have never been used. The other pieces are largish scraps from past projects and even then, it's not a whole lot. So, at least there's that.

Right now I'm just working at getting everything into the closet in some kind of order that makes sense to me. I know I have a rearranging session in my future, but out of bins and onto shelves is big progress so I'm going to be happy with that for a while before I even think of redoing it.

Here's what the closet looked like around noon yesterday. Trust me, the back wall is barely visible today.

Sunday, August 27, 2006

One of these things is not like the other


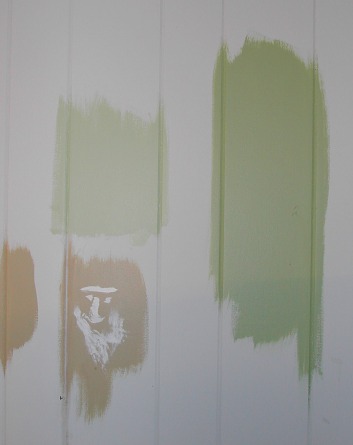
Two of these paint splotches are NOT the final color for my sewing room. The gold-ish blobs were from the original paint I picked. (That's DH's "artwork" in the middle of it.) It was green on my sample card and green in the store. But it was gold/brown on the wall. Grrr. $28 down the drain.

So then I laid paint cards all over the floor and looked at them for weeks in every possible light before making my next decision. Which was also WRONG. Sigh. But it was close enough that after I toned it down with a 1:1 mix with white, it was going on the wall. And so it did, today.

This is what the sewing room looks like tonight.


And this is what will start becoming the stash closet this week, after I unpack the various bins and boxes that have housed my fabric for the past 10 or so months. (That's DH making some final adjustments to the shelving supports.)


The closet will never be this empty again.


Thursday, August 17, 2006

YAPOS


(Yet Another Pair of Shorts)

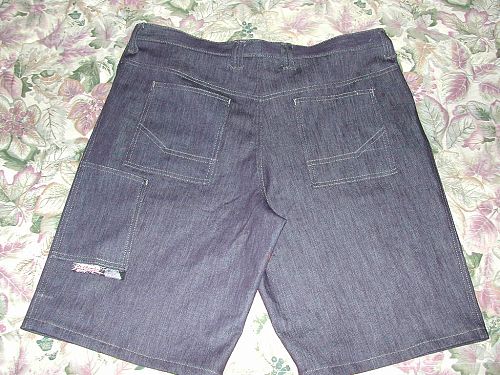
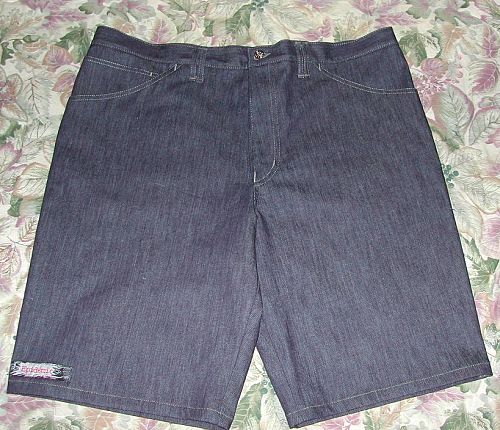
Here's the back view, complete with chalk marks and everything. They're in the washer now because they look too new. They need some distressing on the seams, hems, etc. to look less like Mom made them and more like What Everyone Else Is Wearing. I was a teenager once, I know how it is. They'll be done washing/drying by the time DS gets home from football practice and then I'll see if he's agreeable to another modeling session. (Edited to add: He did, here and here.)

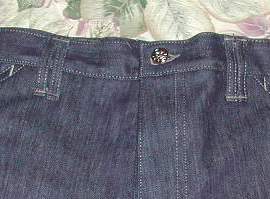
Here's the front, a bit plain here but they really do look better in real life.


I shamelessly stole a few ideas from a pair of his RTW shorts.

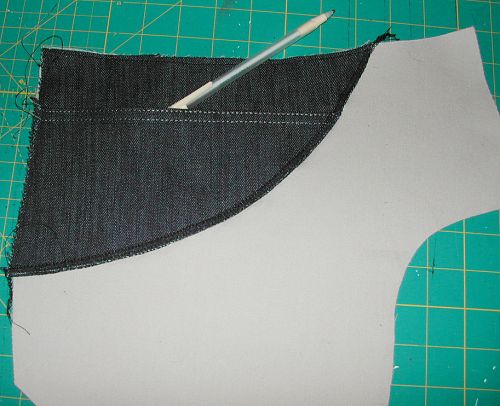
First, the coin pocket construction. I wasn't even thinking of adding a coin pocket (or earring pocket as DS uses it) until I looked at the RTW shorts and saw how easy it would be to add. Instead of a separate little square pocket turned under and topstitched all around, the RTW version had a second layer on top of the hip "patch" on the pocket facing. I was already planning on using lighter weight fabric for the pockets and then adding the "patch" of denim to the area that shows. Three layers of denim for pockets is about two layers too many.

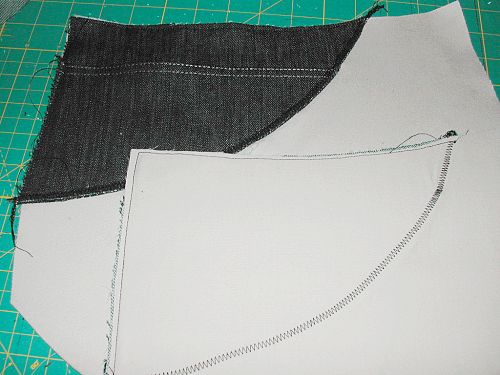
The second layer for the coin pocket is identical to the patch except that it does not come to the top edge of the patch. Instead, its top edge is just turned under and topstitched where it will show and the pocket is situated on the patch to be about an inch below the waistband seam. It's then overlocked around the bottom edge to act as one with the patch and the whole shebang is zigzagged onto the pocket facing.

Here's a pic after all that has been done. Easy, eh?

Here's a pic with the wrong side of the other front pocket on top.


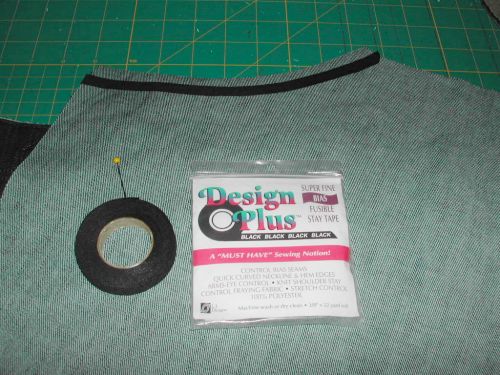
Before completing the pocket bag construction, I fused a strip of Design Plus bias stabilizer along the seam edge of the front of the pocket to help it from stretching out.


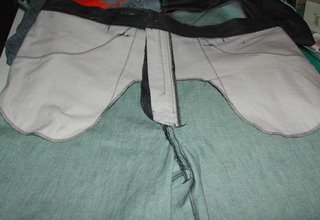
Here's a shot of the inside showing the completed pockets. As you can see, I don't care too much about matching my thread to the pocket bags. The only one who will see them in actual use will be me on laundry day. I was already changing threads at what felt like every other seam to do the topstitching so I wasn't about to add another spool to the mix. His RTW shorts look 10 times uglier than this on the inside. The next time you're stressing about your sewing, take a look at the inside of RTW.


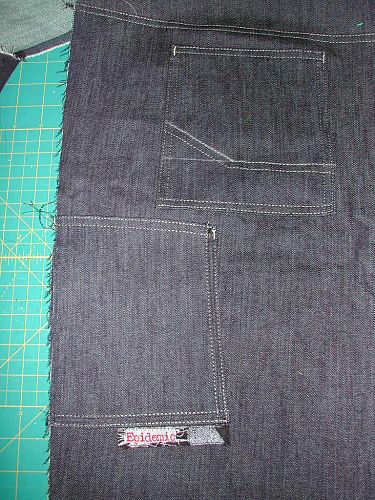
Another detail I stole from DS' RTW shorts was the cell phone pocket on the side seam. Again, easy construction. The top was turned under and topstitched. The bottom and right were turned under and topstitched to attach them to the shorts. The left was ... well ... left, to be sewn into the side seam.

The back hip pockets were also just turned down about 3/8" and topstitched. You know how most patterns have a "facing" area about an inch wide for patch pockets? Well, RTW doesn't. It's just turn and stitch. I like that. The denim is sturdy enough that it doesn't need a facing here.
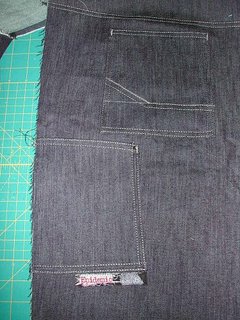


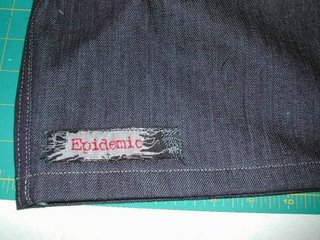
The tag is my idea. I had two of these "Epidemic" tags I removed from a pair of the other DS' jeans about 4 years ago. I knew they'd come in handy one day. Here's a close-up of the bigger one I sewed to the front hem area.


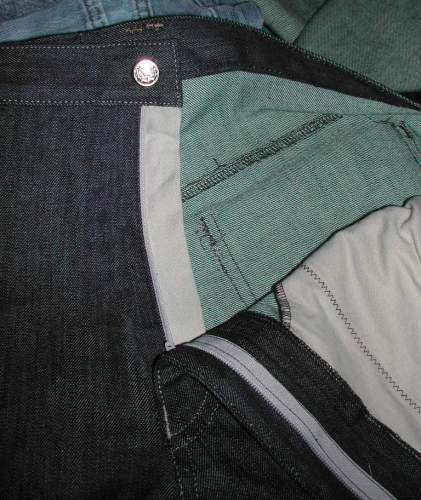
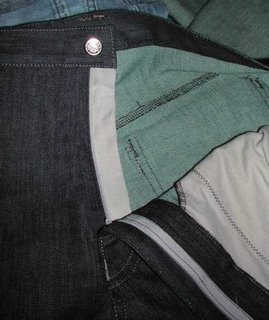
The last "style" changes I made vs. the envelope instructions were (1) a fly shield from the same twill as the pocket bags (less bulky) ...


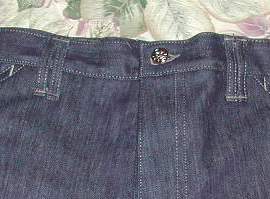
and (2) double belt loops all around. I don't know what made me do this because I hate sewing on belt loops, but I thought it would look cool, and it does. No pain no gain, right?